Renting a dumpster might seem like a straightforward task. You book it, fill it, and wait for it to be hauled away. But there’s more to the process than just throwing things in a bin. If you don’t follow a few key steps, you might end up paying extra fees, dealing with delays, or worse—getting in trouble for improperly disposing of items.
The good news? With this complete checklist, you’ll know exactly what to do before, during, and after renting a dumpster. Ready to get started? Let’s dive in.
Contact for Dumpster in Warren, Oh
Before You Rent a Dumpster
1. Assess Your Needs
Before you make any calls, figure out exactly what your project will involve. The size of the dumpster you need depends on what you’re throwing out and how much of it. You don’t want to rent a dumpster that’s too small, or you’ll have to get another one. You also don’t want a dumpster that’s way too big, or you’ll waste money.
- Small Projects (10-yard dumpster): A home cleanout, small yard work, or a garage purge.
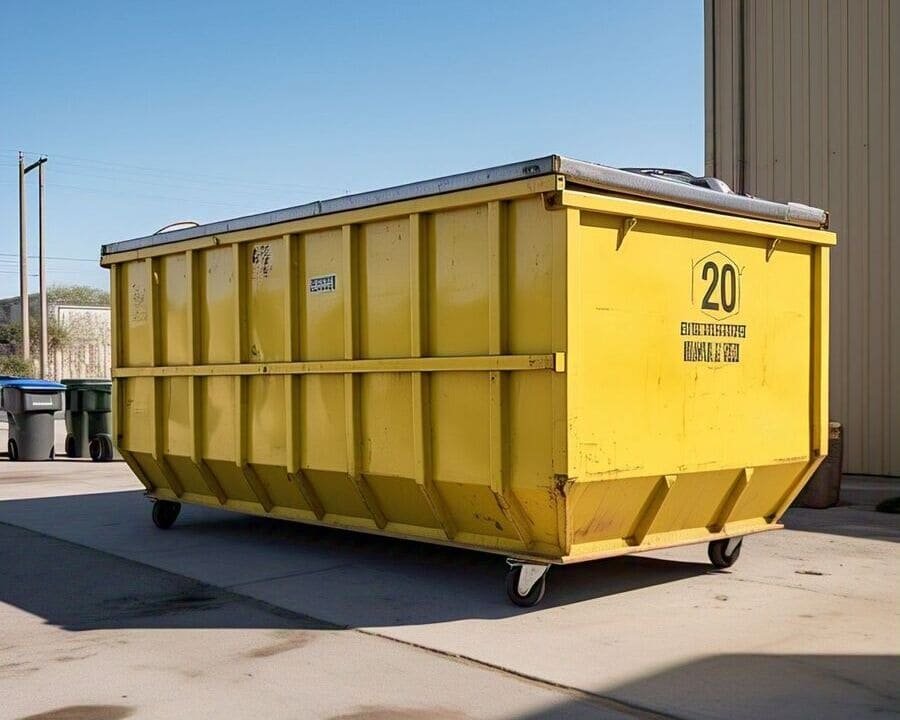
- Medium Projects (20-yard dumpster): Renovations, mid-sized cleanups, or big decluttering jobs.
- Large Projects (30–40-yard dumpster): Major home renovations, large-scale construction, or cleanouts from entire buildings.
2. Know What You Can and Can’t Throw Away
Every dumpster company has a list of prohibited items. The last thing you want is to toss something in there that’s forbidden, only to be hit with fines or extra charges.
Common items you can throw away:
- Furniture
- Yard waste (trees, branches, dirt)
- Construction debris (drywall, roofing, wood)
Items you cannot throw away:
- Hazardous waste (paint, batteries, chemicals)
- Electronics (computers, TVs)
- Tires
- Large appliances (unless specified)
Check with your rental company for a full list of restricted items. And if you’re not sure, ask!
3. Know Your Location and Space Requirements
Where will the dumpster go? On your driveway? The street? The lawn? It’s crucial to choose a location with easy access for both you and the dumpster truck.
- Driveway: Best for homeowners. It keeps the dumpster on your property, but be sure your driveway can handle the size of the dumpster.
- Street: If the dumpster needs to be placed on a public road, you’ll likely need a permit. Check with your city or town for local rules.
- Yard: If you’re placing it on your lawn, make sure the ground is level and stable.
If you plan to place it on the street or public property, don’t forget to get a permit first!
4. Call Ahead for Delivery and Availability
Don’t wait until the last minute. Dumpster companies can get busy, especially during peak times like spring or summer. Call at least a few days before you need it.
- Confirm the size, cost, and rental period.
- Ask about same-day or next-day delivery if your project needs to start soon.
Also, clarify any extra fees for extended rentals, overloading, or restricted items.
During Your Dumpster Rental
1. Make Sure You’re Following Weight Limits
One common mistake people make is overloading the dumpster. Not just filling it up high, but also exceeding weight limits. Some materials, like concrete or dirt, can add up quickly in weight. If you go over, you may face additional fees.
Tip: Stick to the weight guidelines given by the rental company. And if you think your materials might be too heavy, consult with them about how to handle the load.
2. Pack Your Dumpster Smartly
There’s an art to filling up a dumpster. Just tossing stuff in isn’t the best approach. The goal is to maximize space and avoid wasting room.
- Start with bulky items. Place big, heavy items first (furniture, appliances). This helps anchor everything down.
- Break things down. If you have large furniture or boxes, break them down to fit better.
- Fill gaps. Use smaller debris (like broken wood or smaller items) to fill empty spaces between larger items.
Think of it like packing a suitcase. If you don’t pack efficiently, you’ll be forced to leave things behind.
3. Be Careful With Hazardous Materials
While it might be tempting to toss that old can of paint or a few dirty batteries in the dumpster, don’t do it! Hazardous materials can cause environmental damage and might not be accepted by your dumpster company.
Most rental companies will give you a list of things you can’t throw away. But if you accidentally mix in a hazardous item, you might face fines or even legal issues.
4. Monitor the Rental Period
Your dumpster rental comes with a set time frame—usually between 3 and 7 days. If your project is taking longer than expected, you can often extend your rental, but you’ll probably incur extra costs.
- Mark your calendar. Know when the dumpster is supposed to be picked up.
- Call ahead for extensions. Don’t wait until the last minute to extend your rental. Call the company and request more time.
Avoid unnecessary fees by staying ahead of the schedule.
5. Communicate With the Dumpster Company
While you’re using the dumpster, keep the rental company in the loop. Let them know if you’re having any problems, like needing an extension or getting stuck with an overfull dumpster. Open communication helps avoid misunderstandings and keeps things running smoothly.
After You’ve Filled the Dumpster
1. Know the Pickup Date
Your rental company will typically give you a pickup window. Make sure to keep track of it, so you’re ready when they arrive.
- Prepare the area. Ensure the dumpster is accessible. Move any obstacles that could get in the way of the truck.
- Give clear instructions. If you have specific instructions, like needing the dumpster moved to a different spot, let them know in advance.
2. Avoid Overloading the Dumpster
Remember the “don’t overfill” rule? It’s not just about height— it’s also about safety. If debris sticks out over the top of the dumpster, it’s a hazard. Plus, the dumpster truck won’t be able to pick it up.
How to avoid it:
- Keep the debris level with the top edge of the dumpster.
- If you’re unsure, take a moment to ask the rental company for guidance.
3. Pay Attention to Additional Charges
Some fees aren’t obvious. If you overfill the dumpster, exceed weight limits, or throw out restricted items, you’ll face additional charges.
Before the pickup, double-check that:
- You’ve stayed within the weight limits.
- You haven’t overfilled the dumpster.
- You haven’t thrown anything that’s forbidden.
It’s better to pay attention to the details now than be surprised by extra charges later.
4. Handle Cleanup Properly
Once the dumpster is picked up, there’s still a little cleanup to do. Check the area to make sure no debris was left behind. After all, a good cleanup is part of any successful project.
If your rental was for a construction job or heavy-duty cleanout, double-check for leftover nails or debris that could pose a safety hazard. A quick sweep can save you time and trouble later.
Bonus Tips for a Smooth Dumpster Rental Experience
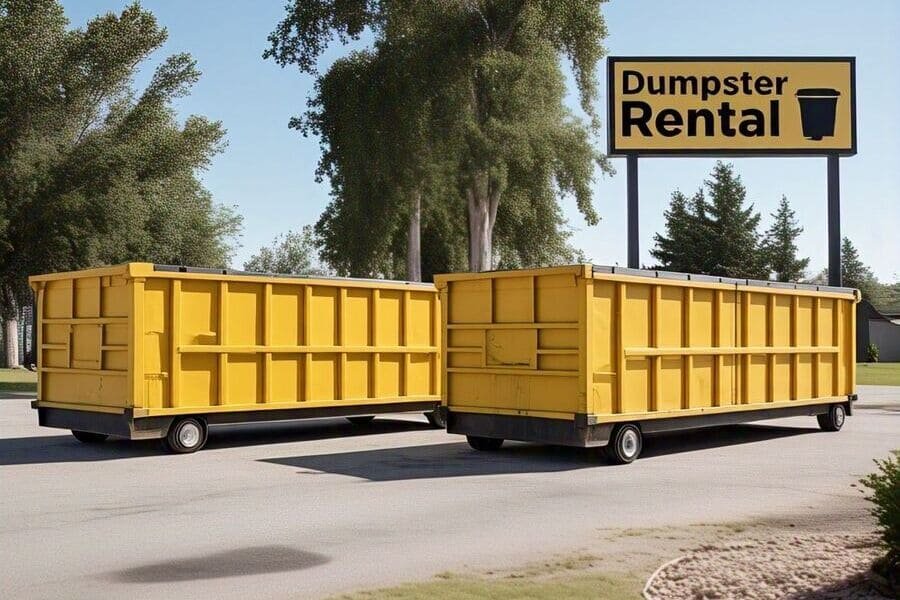
- Get a second dumpster. If you know your project is going to generate more waste than expected, consider ordering an extra dumpster upfront. This will save you time and money in the long run.
- Consider recycling. Many dumpster rental companies offer separate bins for recycling. If you’re tossing out things like cardboard or metal, take advantage of recycling to reduce your environmental impact.
- Stay organized. Keep track of receipts, permits, and rental contracts in case you need them later.
Final Thoughts
Renting a dumpster doesn’t have to be a hassle. With this checklist, you now know exactly what to do before, during, and after your rental. Whether you’re clearing out your garage, doing a home renovation, or tackling a major cleanup project, being prepared will help you save time, avoid extra costs, and make sure everything goes smoothly.
Here’s a quick recap:
Before you rent:
- Assess your needs.
- Know what’s allowed in the dumpster.
- Plan your location and permit needs.
- Call ahead to confirm availability.
During the rental:
- Follow weight limits.
- Pack the dumpster smartly.
- Avoid hazardous waste.
- Monitor your rental period.
- Stay in touch with your rental company.
After filling the dumpster:
- Prepare for pickup.
- Don’t overload.
- Watch out for additional charges.
- Do a final cleanup.
Follow these steps, and you’ll be a dumpster rental pro in no time. Ready to get started on your project? Let’s make it easy!
Need a Dumpster Rental?
Give us a call and let us guide you through the process. We’ve got everything you need to make your cleanup a breeze!